The ASRock Z390 Taichi
Published:
by:
Jack 'NavJack27' Mangano
Estimated reading time: ~4 minutes
Intro
Please throw some money my way either directly VIA PayPal or with my Ko-Fi maybe don’t do my Patreon until I fully set it up.
Today I’m going to be giving a quick look at the ASRock Z390 Taichi.
The Taichi Branding Backstory
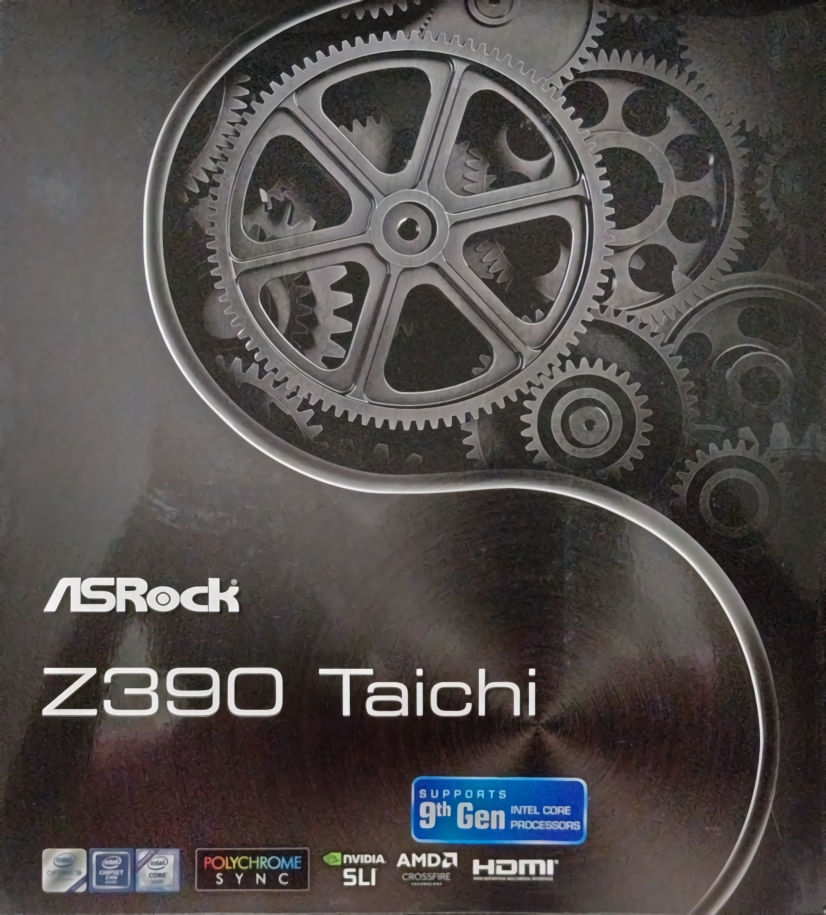 |
| The ASRock Z390 Taichi Box |
ASRock launched the Taichi branding with X99 back in 2016. Their goal with Taichi was:
The X99 Taichi is truly a stable motherboard for the cost conscious yet feature-rich consumer. James Lee, ASRock’s V.P. of Sales and Marketing was quoted as saying, “This is ASRock’s biggest offering in the easy-to-use, rock-solidly stable line of X99 motherboards. We have designed the X99 Taichi for the all-round PC user who wants a motherboard packed with premium features”.
…the X99 Taichi compliments the yin and yang of cost vs. features to bring a comprehensive, responsive motherboard to market…
The Taichi is just exactly an enthusiastic board designed for tech geeks! It is a workhorse bundled to power the most intense hardware devices.
Since then the popularity of the Taichi brand seems to have grown and many consider it a mark of a high-end motherboard, but I still consider it a mid-range brand.
Specs
I’ll just take ASRock’s graphic for this.
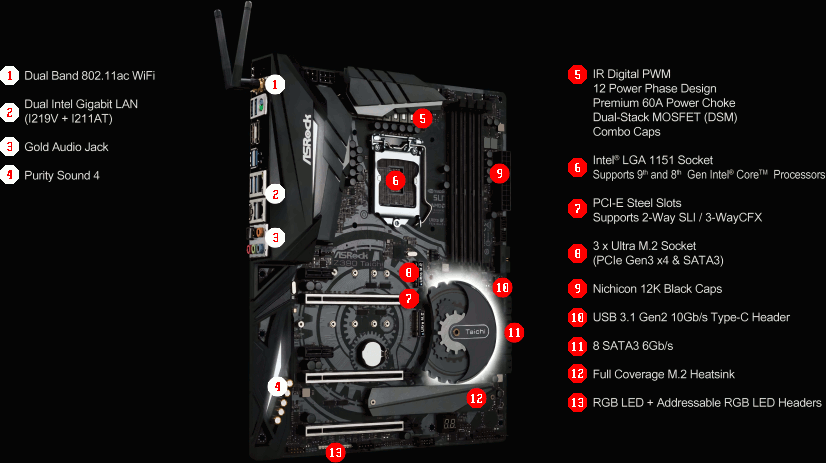 |
| Specifications |
Nothing really stands out in here honestly. I’m not going to clap 🚫 👏👏👏 for good VRM design when it should just be done across the board by everyone.
Here is the board.
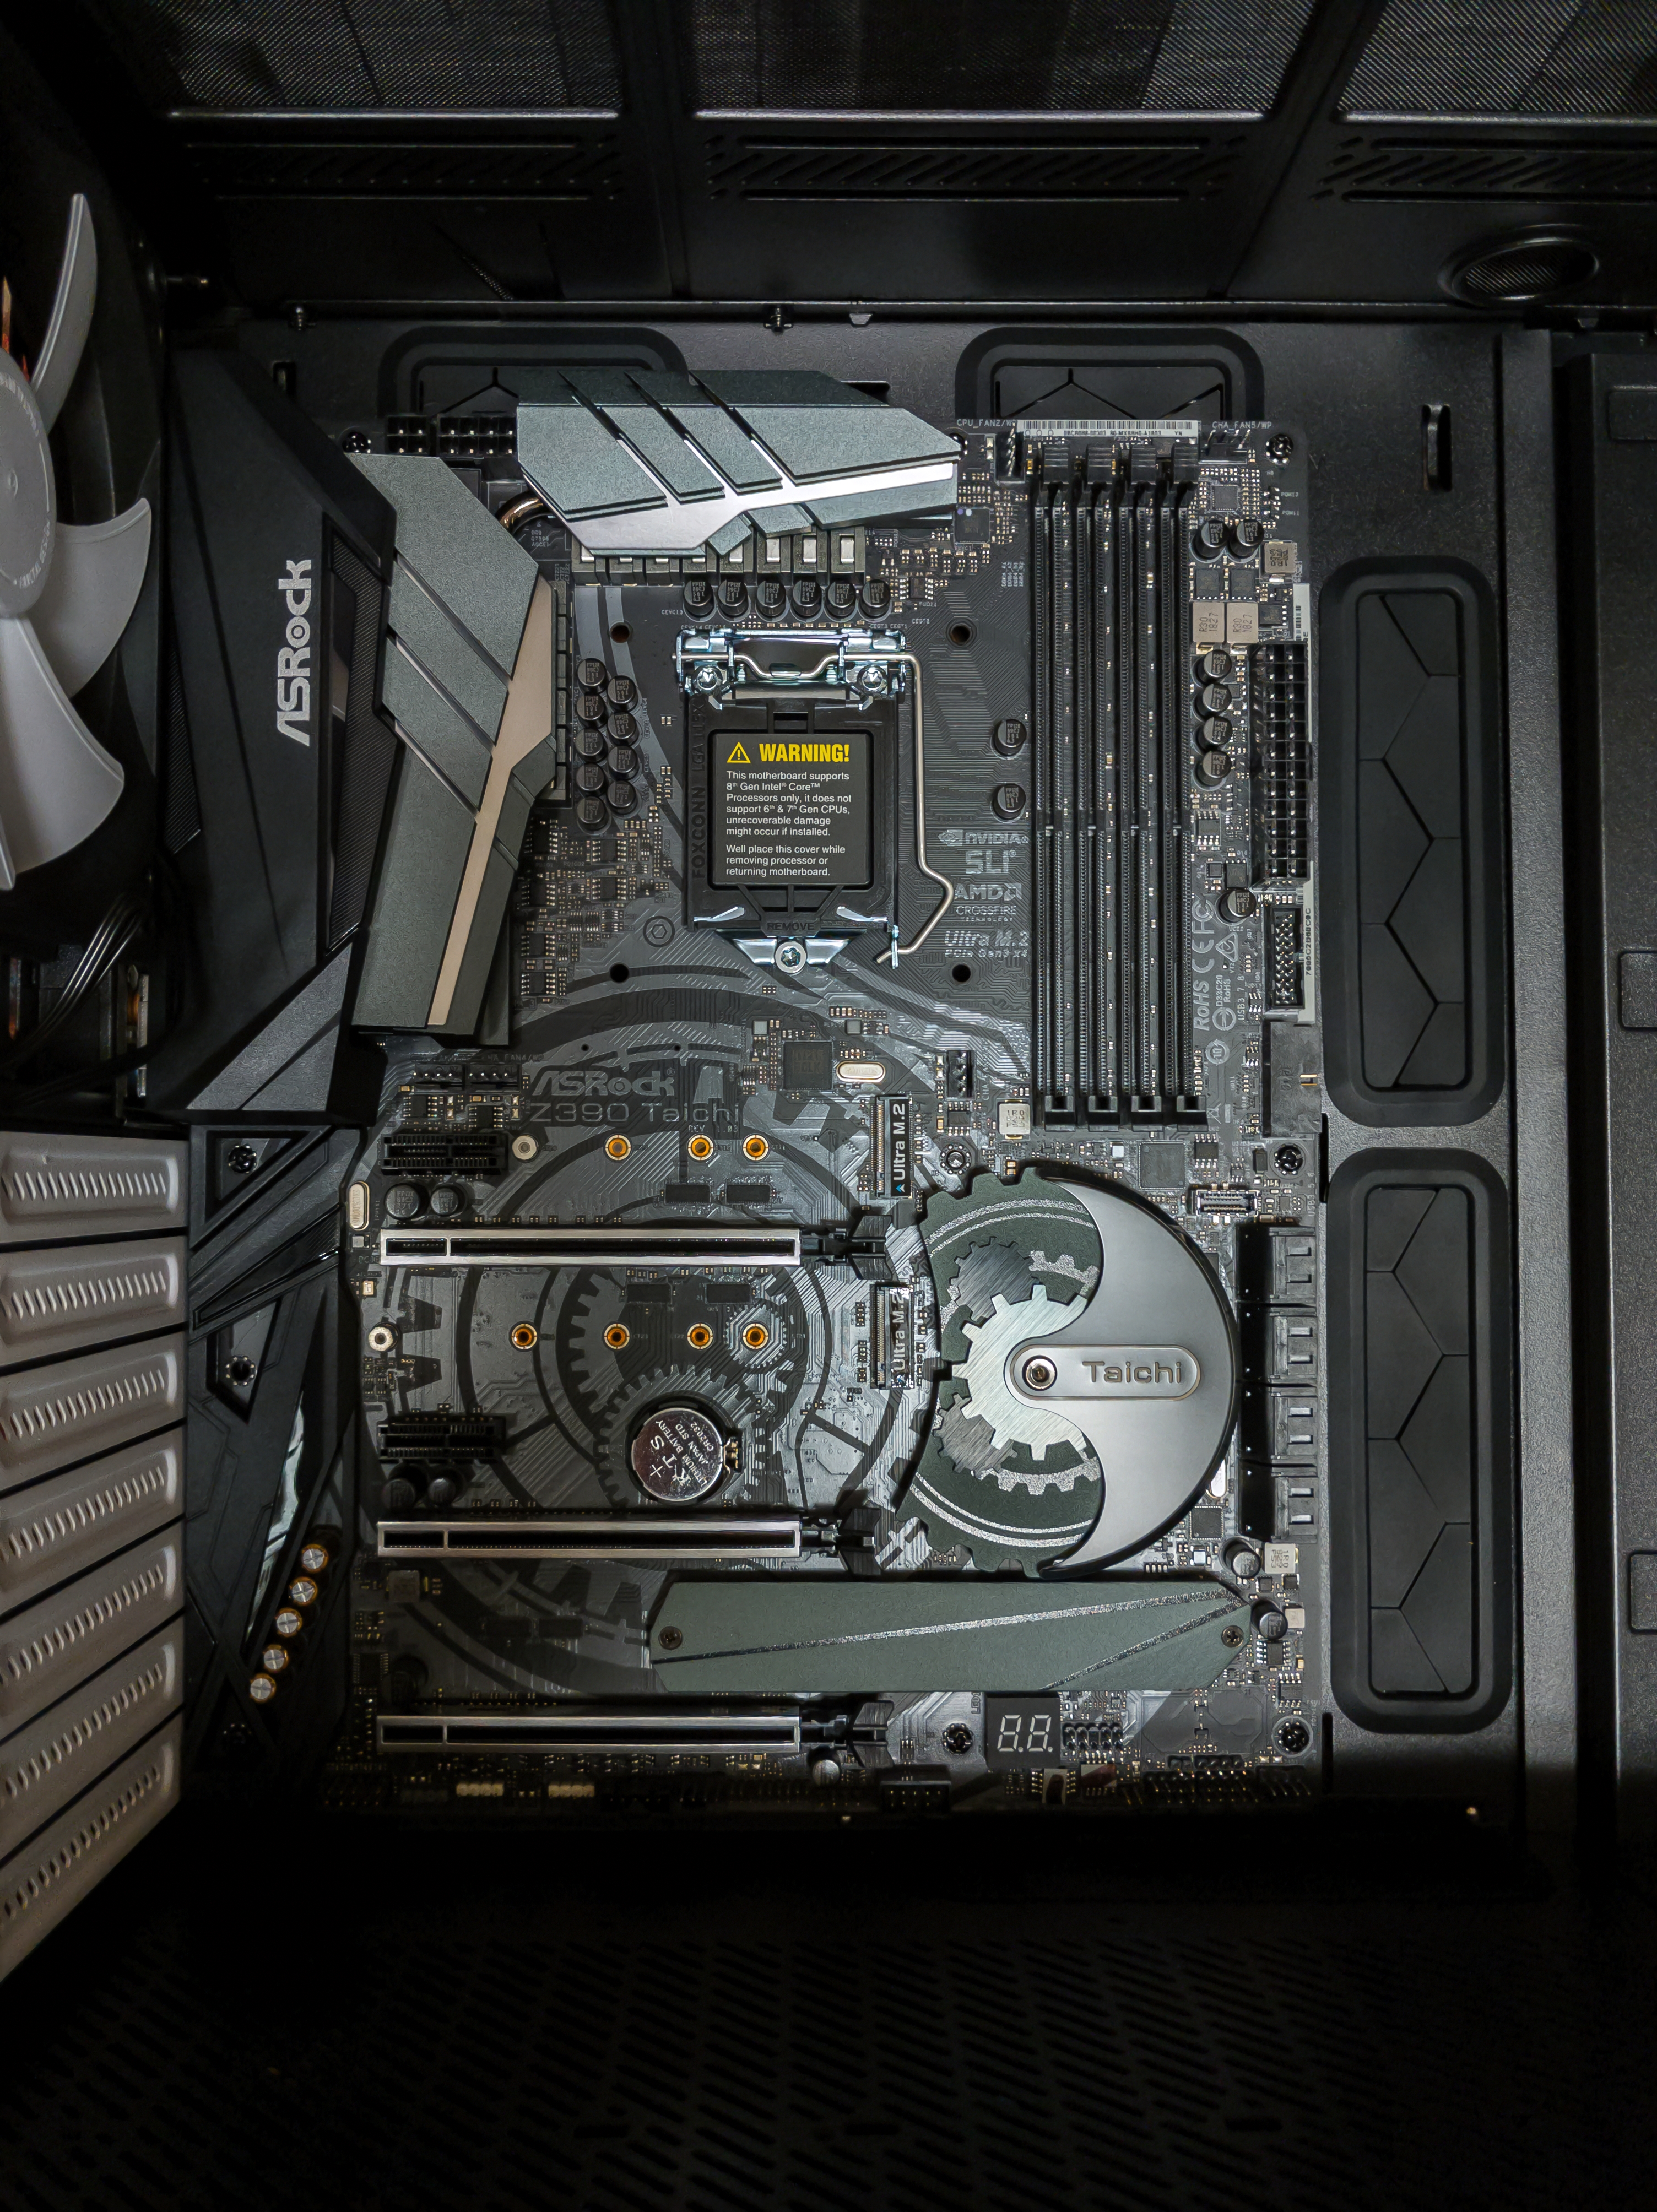 |
| Close Up Of The Board |
I guess it looks pretty. It has RGB crap in various places that I just turn off. The heatsinks have no fins and are basically just large blocks of metal but there is a heatpipe connecting them, so there’s that.
Test Rig
- Hardware Provided by Intel
- Intel Core i9-9900K
- SRELS - L907C559 E4 - P0 Stepping
- Noctua NH-D15
- (What we’re testing) ASRock Z390 Taichi
- Using P4.20 BIOS
- G.Skill Trident Z RGB F4-3466C16D-16GTZR
- Samsung 970 EVO Plus 250GB NVMe
- Fractal Design Define S2
- Seasonic 850w Focus Gold
- Intel Core i9-9900K
- My Personal Hardware
- EVGA RTX 2080Ti XC Black
- PNY CS1311 960GB SSD
- SanDisk Ultra II 480GB SSD
Observations
There is one annoying thing that I’ve encountered on this board that I was only able to find a solution to with some Google. For faster speed RAM the sticks need to be in the A2 and B2 slots. You should also disable Realtime Memory Timing and ASRock Timing Optimization. I was unable to get my RAM’s XMP mode working with the sticks in A1 and B1. I don’t have a four stick kit of this RAM so I’m unable to tell you if having all slots populated will lead to you being unable to XMP past 2666.
Testing
X265 Encoding Testing
The following tests were performed with automatic voltage in the UEFI. The only thing changed was the core clock multiplier to 50x along with enabling c-states up to C7. SpeedShift and other things were automatically set to enabled by the UEFI.
X265 Temperature & Voltage @ 5GHz Auto Motherboard Settings

X265 Temperature & Power @ 5GHz Auto Motherboard Settings

X265 Clock Speed @ 5GHz Auto Motherboard Settings

X265 Thoughts
The ASRock Z390 Taichi handles the voltages just perfectly for 5GHz. I was surprised by this when I decided to use the automatic voltage to find out what voltage the motherboard itself would end up giving the 9900K. This is perfectly stable for normal usage. For a quick set it and forget it 5GHz this should really be something you try for yourself.
The RGB Controls
The memory that I’m using has support for ASRock Polychrome Sync. You can’t really turn it off without having support as far as I know. Using the software in Windows is a pain. It seems like it crashes while it polls the devices. Once it finally figures out its purpose in life it can control the LEDs just fine. Annoyingly the UEFI sees the RAM but does not control it so you have to run the Windows utility and wait for it to poll and then disable the LEDs if you want a completely blacked out lighting setup at every reboot because the settings do not stick and save.
Other Testing
If you want more testing please check out my 9900K review. I put this board through the ringer in there and I don’t want to clutter this article with endless charts. Over in the 9900K review you can find auto multiplier and voltage tests.
Thoughts And Conclusion
This is a good board. I like how it handles voltage. It has features and stuff. I don’t like it as much as my Gigabyte Z370 Aorus Gaming 7 though. I haven’t tested the 9900K on the Gigabyte Z370 yet, but it handled the 8700K like a champ. Next, I’ll be looking at that combination so look out for that in the next week or two.

Founder, WebMaster & Writer
I’m just a geek with ADHD and motivational issues 😵