
Storage That Happens to be On a Network Part 2
Published:
by:
Jack 'NavJack27' Mangano
Last Updated:
Estimated reading time: ~8 minutes
Please throw some money my way either directly VIA PayPal or with my Ko-Fi maybe don’t do my Patreon until I fully set it up.
It’s time I bring you up to date with my NAS build adventure. You can find the original article here. I’ve recently brought up some experimental risky upgrades and I want to share my experiences with you.
Backstory
During the genesis of my idea for the NAS I’ve been clued in to a feature of certain filesystems called deduplication. I’ve wanted to implement this feature but knew it would require either running Linux instead of Windows or one of the more recent Windows Server versions. Since bringing up the NAS quickly and painlessly was a priority at the time I just went with deploying Windows 10 Pro. While I was doing some moving around of my files and extracting RAR files I stumbled upon a couple archives that had corrupted and prevented the extraction of some of the files contained inside. In the process of troubleshooting this I moved everything off the drive and then just gave it a fresh format after doing some other poking and prodding at the drive with other utilities. This led me to figuring out how to enable ReFS filesystem formatting in Windows 10 Pro by entering a key for Windows 10 Pro for Workstations. After I did this I found out that the deduplication still wasn’t available and that is one of the features I really wanted to play with and the whole reason for wanting ReFS. I decided to use an installation media I have for the Insider Preview of Server 2019 along with VirtualBox 5.2.97 to take care of this whole shebang.
Technicalities
Setting up a virtual machine to be a storage server might sound daunting but hopefully some of the stuff I mention in here might help you out if you decide to try it out. The first part is to get your hands on a legitimate copy of the Windows Server 2019 Insider Preview ISO with the desktop experience included. Set that up in a virtual machine just like any other Windows install. Don’t worry about the drives just yet, just get things installed for now.
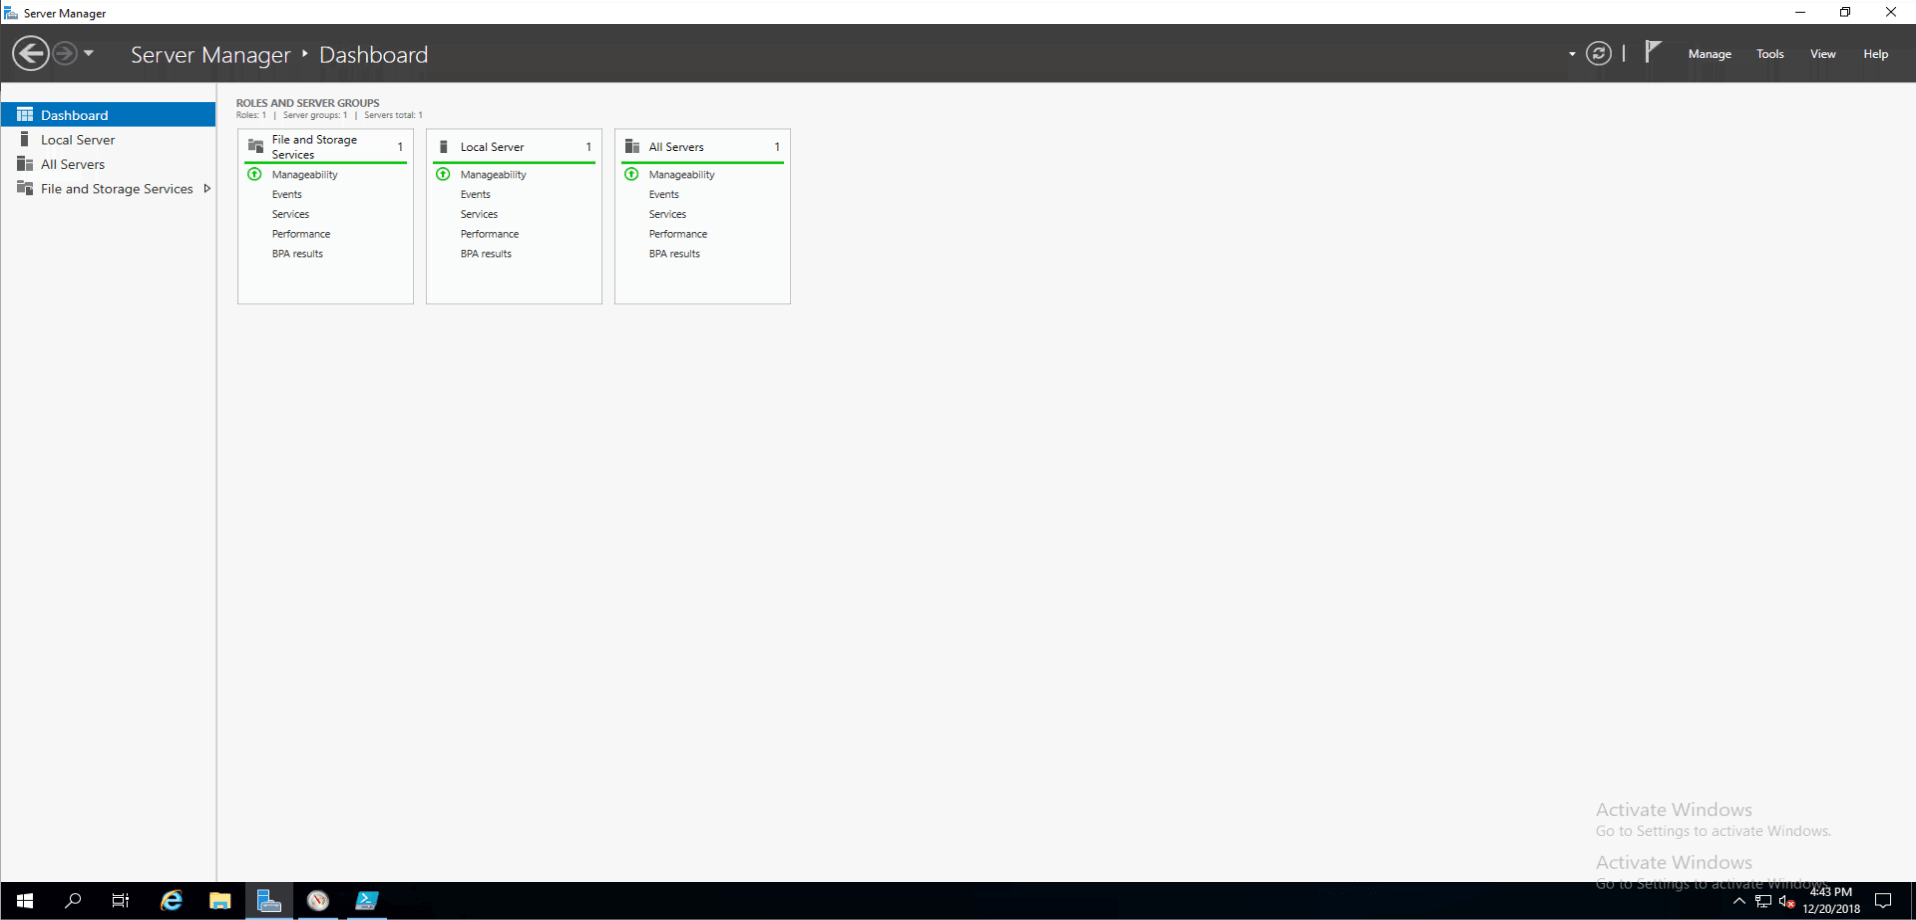
Once you are logged in as Administrator you will be greeted by the Server Manager window.
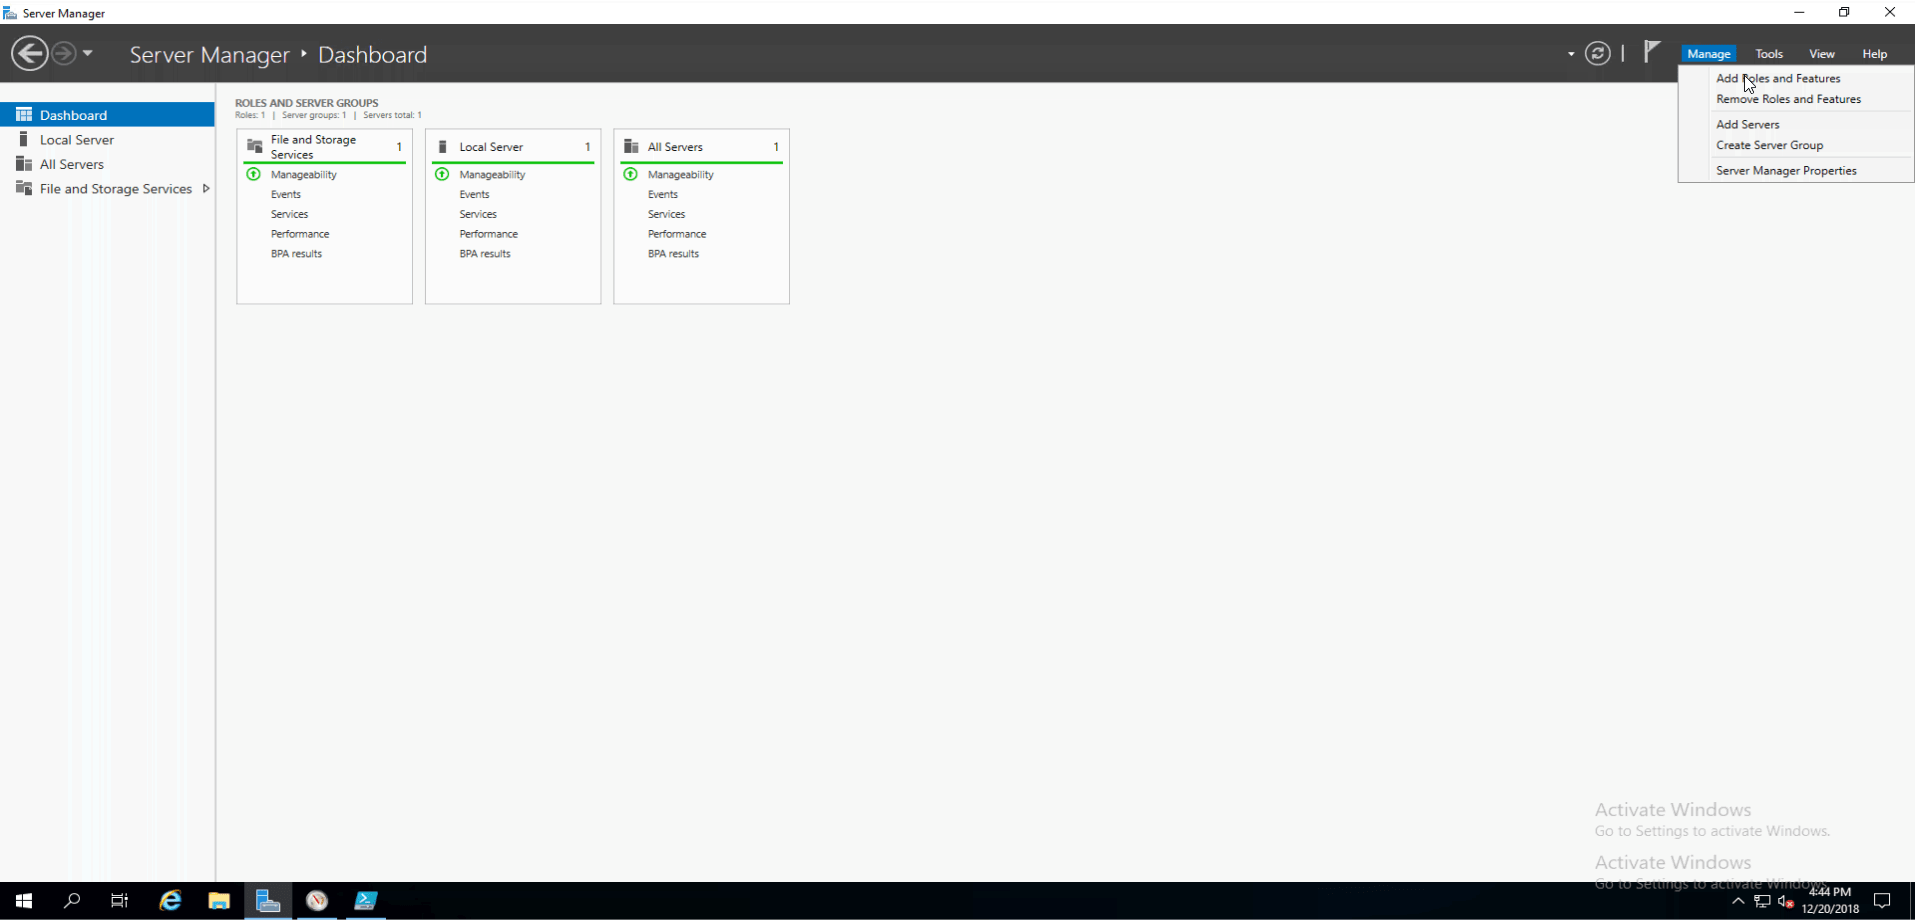
Next click on Manage and then Add Roles and Features.
Hit next three times and you will be on the Add Server Roles section.
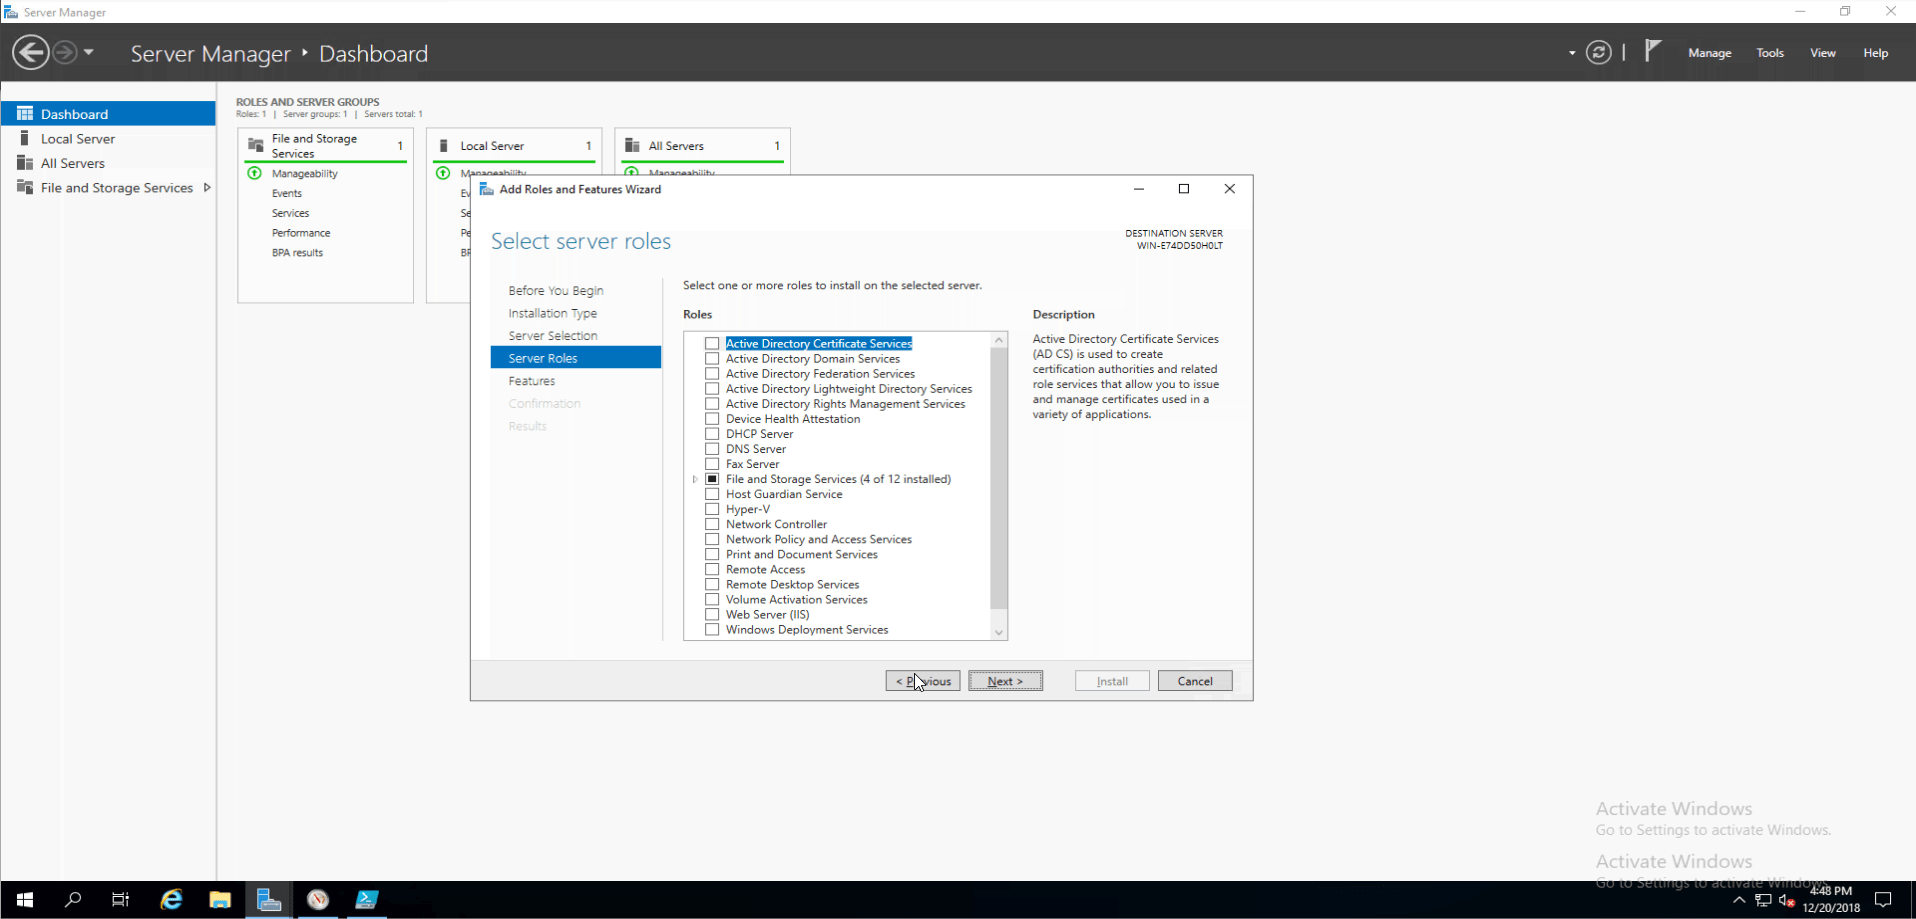
Now, I’m just going to tell you the Server Roles that I have enabled.
- File Server
- Data Deduplication
- Server for NFS
- Storage Services
Hit next and you will be on the Features section and this is what I have enabled there.
- .NET Framework 4.7
- TCP Port Sharing
- Storage Replica Module for Windows PowerShell
- Services for Network File System Management Tools
- SMB 1.0/CIFS Client
- SMB 1.0/CIFS Server
- Storage Replica
- System Data Archiver
- Windows Defender Antivirus
- Windows PowerShell 5.1
- Windows PowerShell ISE
- Windows Search Service
- WoW64 Support
- XPS Viewer
So, now that we’re on the same page with the features we can start on the next, more complicated, part; the storage. My NAS has two WD Red 3TB drives up in it that need to be mounted in the virtual machine as physical raw disks. Doing this is easier than you might think!
This is where I tell you that you could lose all your data.
First you are going to open an administrator command prompt on the host system and navigate to C:\Program Files\Oracle\Virtualbox\ or whatever your VirtualBox install directory is. Now that we’re there we’re going to do some prep on the drives we want brought into the virtual machine. Run Diskpart and type in list disk and hit enter. Take note of what disks are what number. Select the disk you want to bring over by typing select disk # and then we are going to bring the disk offline by typing offline disk. Now we are going to clear the read-only state of the disk by typing ATTRIBUTES DISK CLEAR READONLY. Now type exit.
This is the part where we bring the disk into VBox. Since we are already in the Virtual Box folder we can do this next part right away. Using the Virtual Box management tool VBoxManage we will create a linker file to the disk as a VMDK file.
On my machine I used this command VBoxManage internalcommands createrawvmdk -filename "C:\VMs\Server2019\Windows Server 2019 Insider Preview\D_Drive_Linker.vmdk" -rawdisk \\.\PhysicalDrive0 but you will have to alter parts of it to work on your machine. If you have more drives just change the PhysicalDrive# to match the disk in question.
At this point you can mount the VMDK file(s) in VirtualBox and in the Windows Server 2019 VM. Once back inside the virtual machine you can use the Server Manager interface to format the disks as ReFS and enable the deduplication feature.
Why Deduplication?
We should get into what Deduplication is. I’ll use Microsoft’s documentation for this which you can read here or use my blatant plagiarism.
How does Data Deduplication work?
Data Deduplication in Windows Server was created with the following two principles:
1.Optimization should not get in the way of writes to the disk
Data Deduplication optimizes data by using a post-processing model. All data is written unoptimized to the disk and then optimized later by Data Deduplication.
2.Optimization should not change access semantics
Users and applications that access data on an optimized volume are completely unaware that the files they are accessing have been deduplicated.
Once enabled for a volume, Data Deduplication runs in the background to:
- Identify repeated patterns across files on that volume.
- Seamlessly move those portions, or chunks, with special pointers called reparse points that point to a unique copy of that chunk.
This occurs in the following four steps:
1.Scan the file system for files meeting the optimization policy.
2.Break files into variable-size chunks.
3.Identify unique chunks.
4.Place chunks in the chunk store and optionally compress.
5.Replace the original file stream of now optimized files with a reparse point to the chunk store.
When optimized files are read, the file system sends the files with a reparse point to the Data Deduplication file system filter (Dedup.sys). The filter redirects the read operation to the appropriate chunks that constitute the stream for that file in the chunk store. Modifications to ranges of a deduplicated files get written unoptimized to the disk and are optimized by the Optimization job the next time it runs.

Pros
Basically, if you are messy like I am with storage you can end up saving a ton of disk space by enabling this feature.
Cons
Deduplication as a feature in the Windows family of operating systems is limited to a very small number of Server SKUs.
Compatibility Issues
During all of this I found out that my Pixel 2 and ShieldTV couldn’t access all the deduplicated files on the network share. After putting fourth all this effort to play around with this feature I ended up disabling it. There are also issues related to using a RAW disk in a virtual machine. The biggest one is that you need to redo the Diskpart commands after a reboot of the host machine. Namely the clearing of the read-only flag.
Conclusion
I’m still going to play around with Windows Server 2019 inside a virtual machine. There are some advantages to working this way but there are also lots of hassles, but I’m the kind of guy that likes living in a constant technological hell of my own making. Thanks for reading!
Addendum
A Quick & Dirty Layperson-ish Explanation of Deduplication
First when it runs the optimize command it will scan every file on the disk and save split up chunks of the files that have duplicate instances. These chunks go into the system volume information folder. It also saves metadata for all the other files that don’t have duplicates. This process takes up space on the disk itself. Once it does that it then references each duplicate to be pointed at the set of chunks that make up the file. As files get modified or removed there is a weekly schedule that runs garbage collection and removal of outdated chunk data and metadata. Hopefully the files you work with benefit from the space taken up. For the curious like me you can run resource monitor during an optimize operation and watch what it is doing, at least I find it entertaining to watch.
Manually Running Deduplication
If you chose General Purpose File Server as the method for deduplication on your Windows Server VM then you won’t see any benefit from it until a couple days later. You can speed things up by changing the value for days that need to pass before the OS optimizes the files to 0.
There are also some other things you can do in the Powershell ISE you can look up some commands like Start-DedupJob and fill in the options to have it brute force run on a disk with deduplication enabled. Start-DedupJob -Type optimize -AsJob -Memory 75 -Preempt -Volume X: is what I would run to force the operation.
Results Before I Nuked Deduplication
Before I decided to disable the feature, I was able to save a little over 600GB of space out of 2.33TB used space. That might not sound like much, but it was way more then I’d get with NTFS compression.

Founder, WebMaster & Writer
I’m just a geek with ADHD and motivational issues 😵